Ready to implement Microsoft’s Hyper-V server but aren’t quite sure where to begin? This walk-through will show you how to set up the hypervisor and get your servers virtualized in no time.
Virtualization has been a hot item since it was introduced several years ago. The fact that it has been available commercially on many user desktops—such as being a native feature since Windows 8—only solidifies the real-life issues this technology resolves, from virtualizing entire servers to individual desktops and even single applications. Clearly, virtualization is here to stay.
Since its introduction in Windows Server 2008, Microsoft’s hypervisor, known as Hyper-V, has played catch-up with some of the more robust offerings from VMware and other competitors. But being included as part of the server and desktop OSes, along with a steady increase in features and usability, has made Hyper-V and its standalone offering, Hyper-V Server, a major player when it comes to virtualization in the enterprise and at home.
The latest iteration, Hyper-V Server 2016, is free for all to use and does not adhere to Microsoft licensing terms. Though its use does not guarantee you free use of Windows Server or client OS offerings, what is included is the hypervisor, which acts as the foundation for the virtualized environment in a stripped down manner. It includes all the necessary management tools to add and manage virtual machines (VM) to the server in one UI-less package with a small footprint and minimal requirements.
Before diving into the setup process, let’s review the requirements to bear in mind when designing your server-to-host VMs.
General requirements
- 64-bit CPU with second-level address translation (SLAT)
- VM Monitor Mode extensions
- 4GB RAM
- Virtualization support-enabled BIOS or UEFI
- Data Execution Prevention (DEP) support-enabled BIOS or UEFI
- Network access (optional for VM use; required if VMs must communicate with the network/internet)
- Hyper-V Server 2016 ISO or bootable media
One word about these requirements: They are general for a reason. You should consider them the minimum requirements to get the hypervisor up and running. However, your environment’s needs may require additional and/or specific requirements to be included when you prepare to deploy certain services. Also keep in mind the RAM usage in particular, as the 4GB suggested applies only to the hypervisor. Any VMs you wish to add will draw from the existing pool of hardware resources when they are powered on and in use, so the more resources available to all VMs the better the performance will be for both hypervisor and client VMs.
Installing Hyper-V Server 2016
Boot Hyper-V Server 2016 installation media from either a USB flash drive or DVD media, as needed to begin the installation process (Figure A).
Figure A
Once the wizard loads, select your desired language and keyboard settings, then click Next to proceed with the initial setup (Figure B)(Figure C).
Figure B
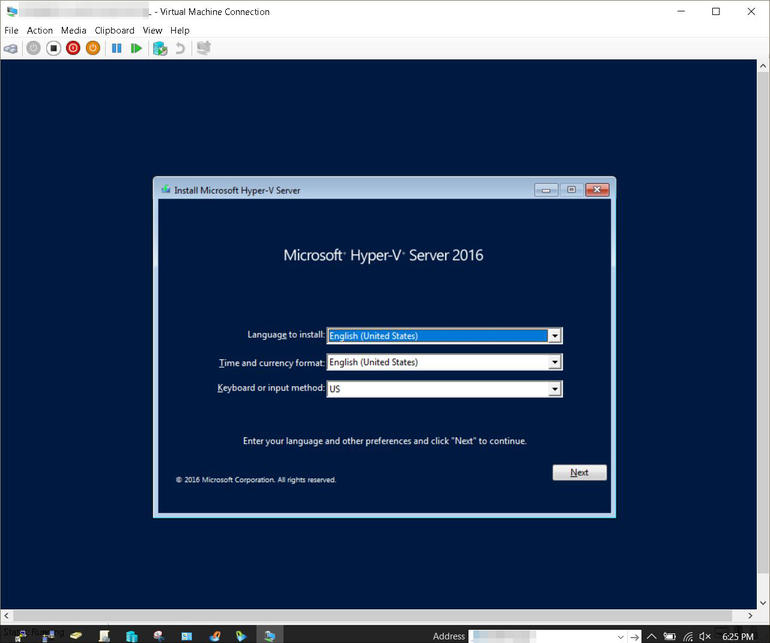
Figure C
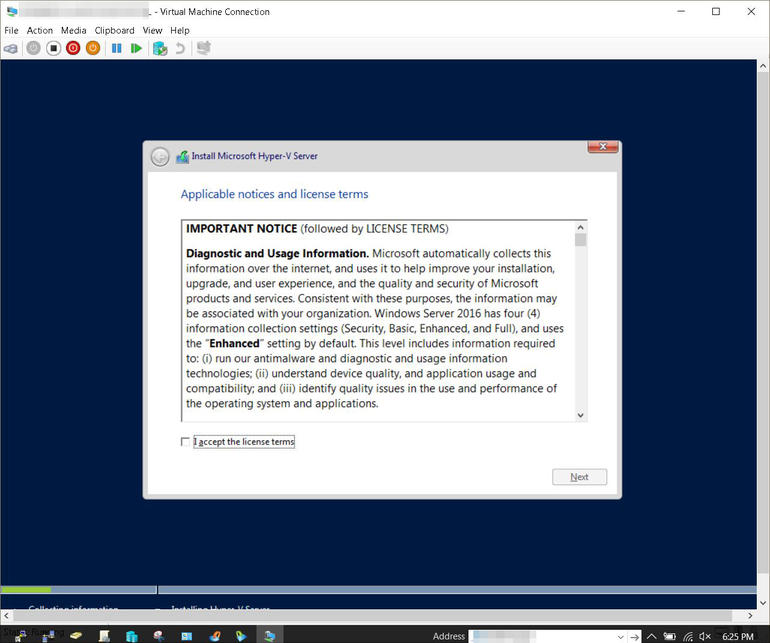
Agree to the licensing terms by checking the checkbox and clicking Next (Figure D).
Figure D
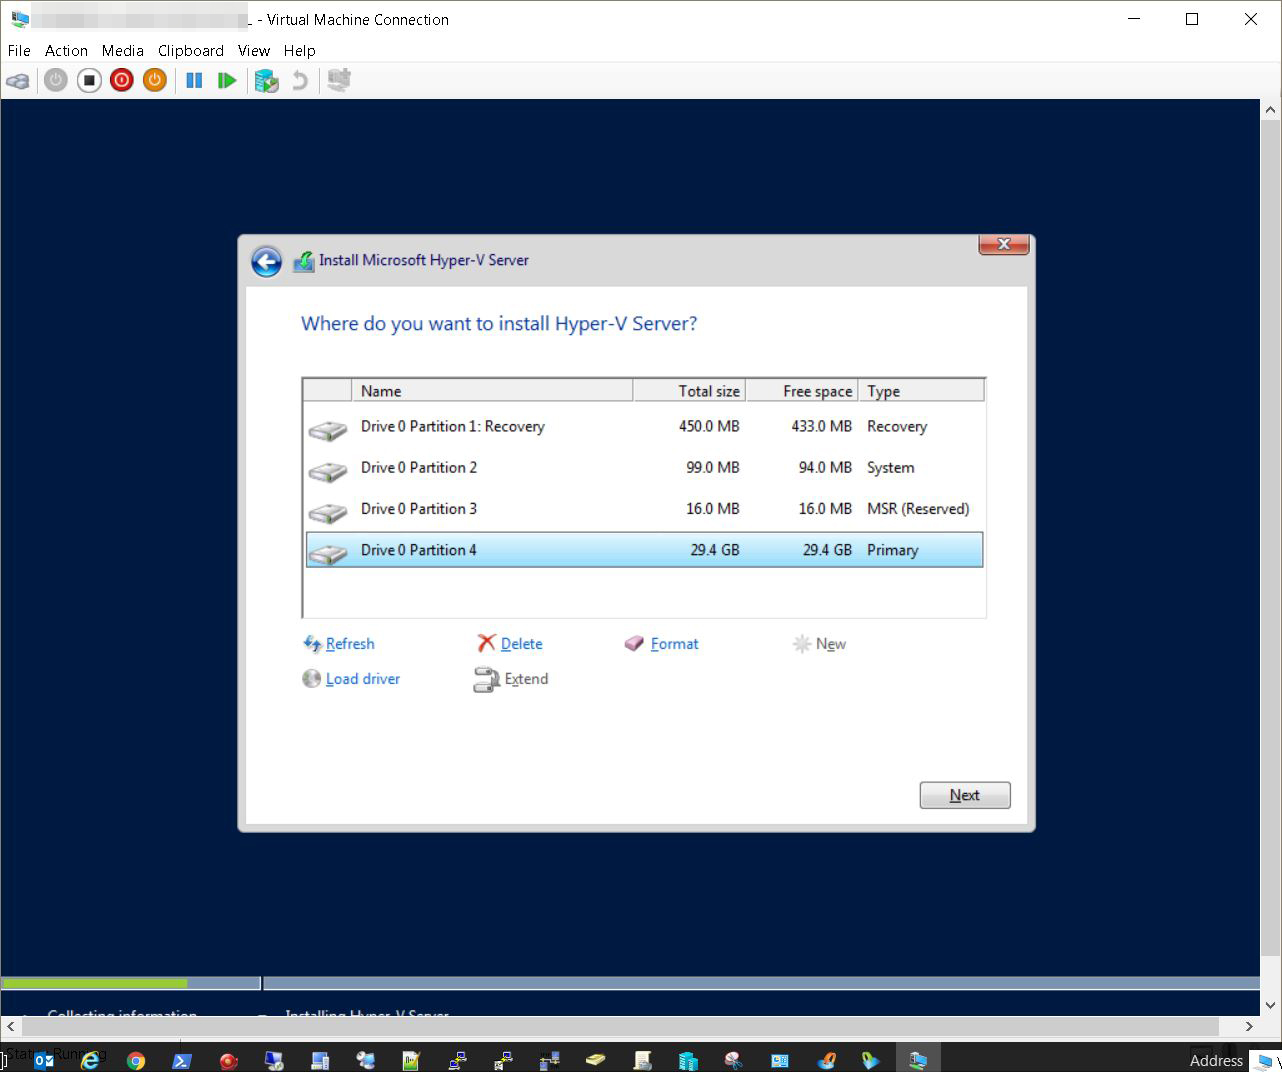
When performing a fresh install on a server, selecting the Custom method will allow you to configure additional storage settings, partition drives, and format, if necessary. The upgrade method is intended for those wishing to upgrade only the version of Hyper-V Server already in use on that server, while leaving the existing settings and configuration as is. Select Custom to configure storage settings for your environment (Figure E)(Figure F)(Figure G).
Figure E
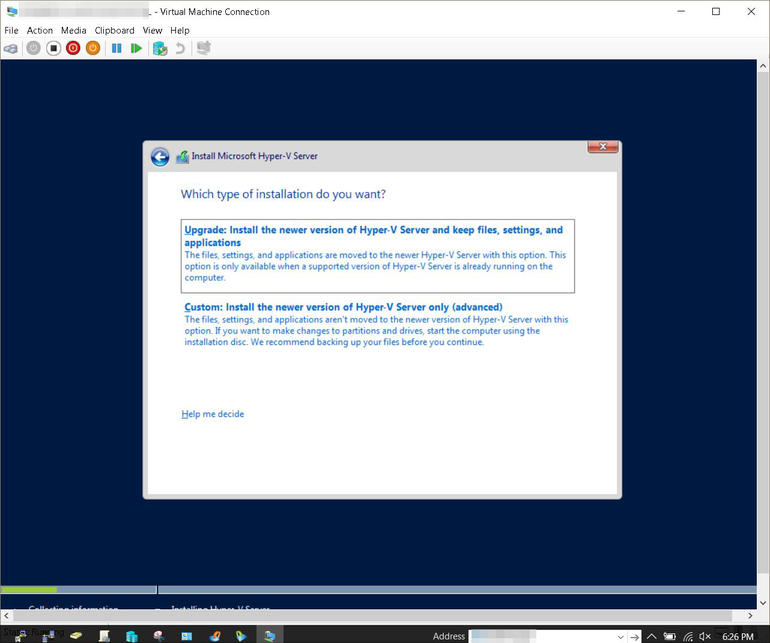
Figure F
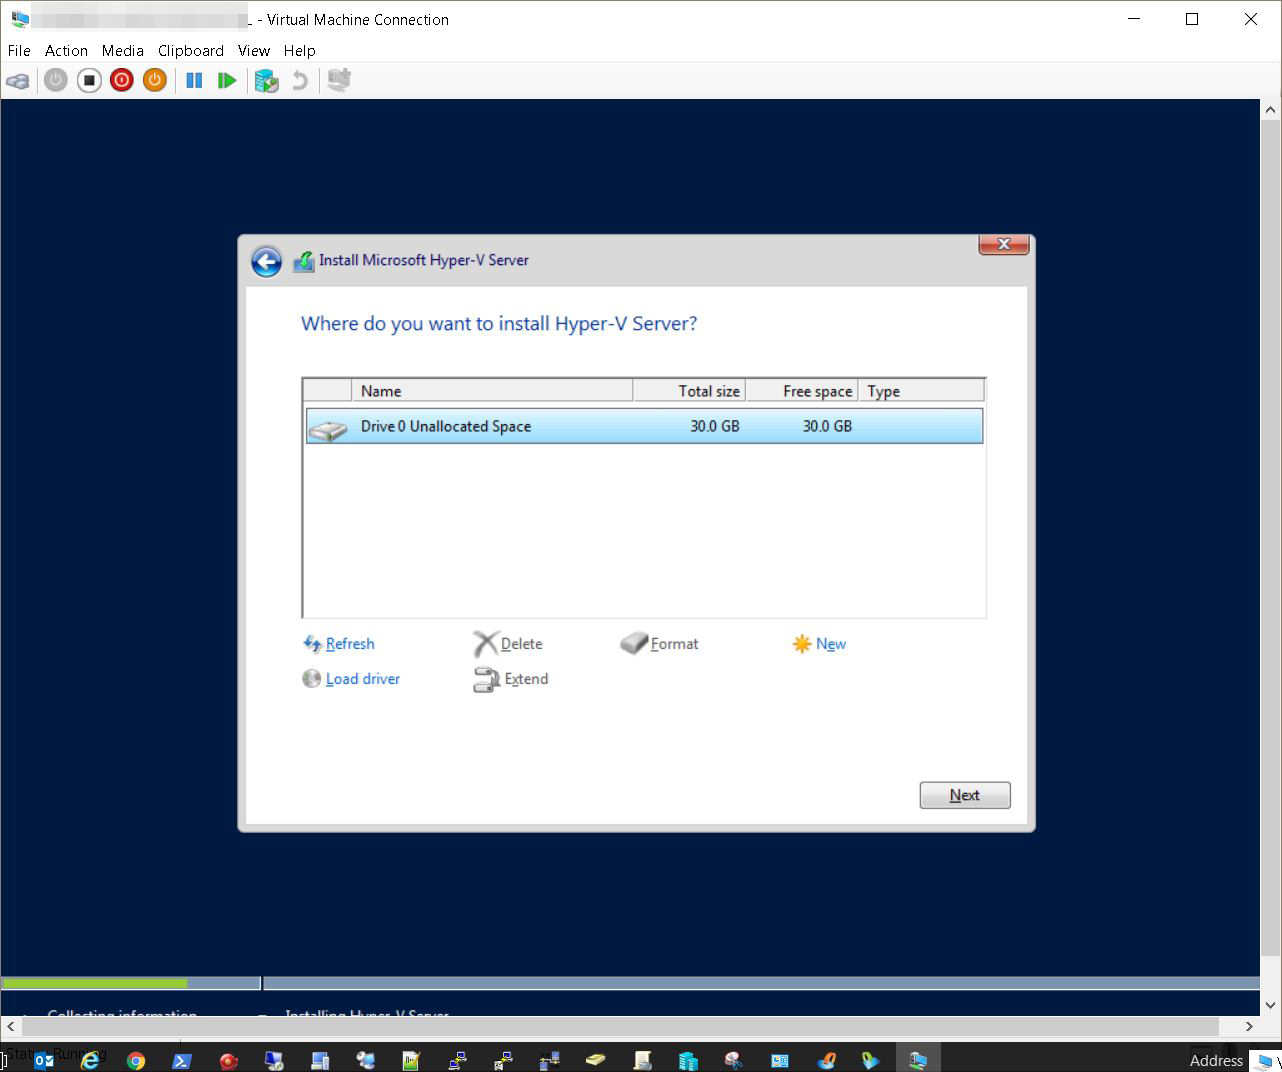
Figure G
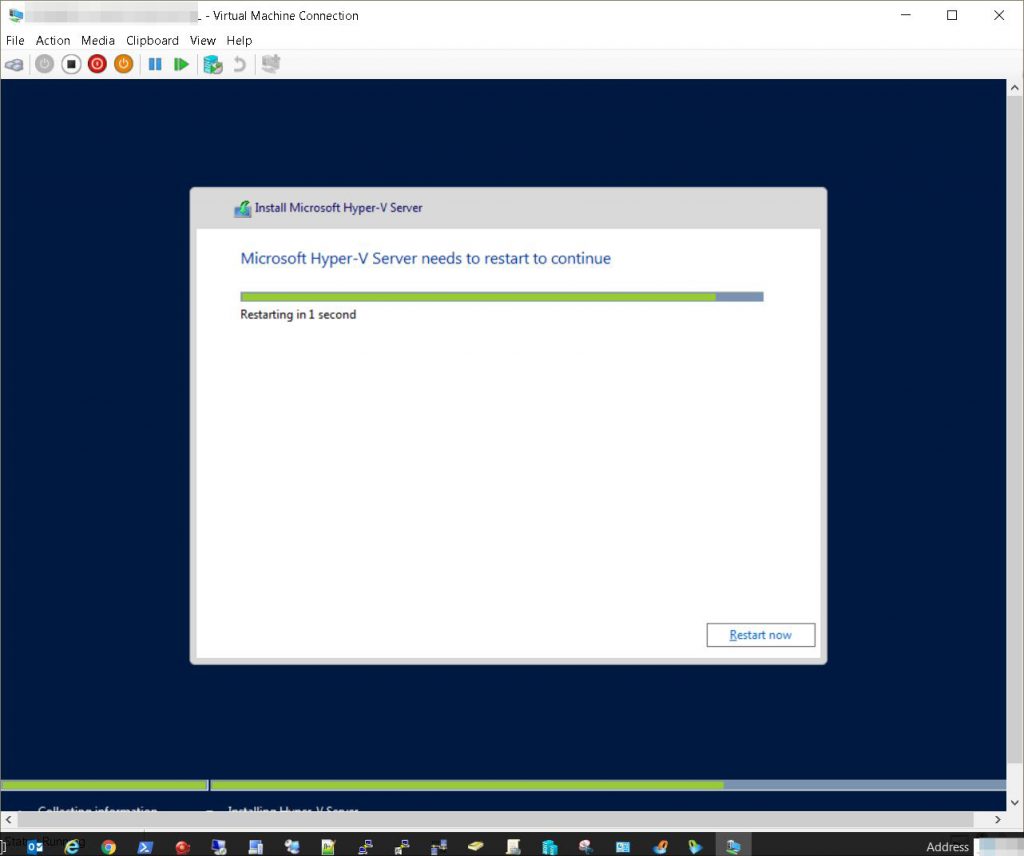
The last phase copies the files to the server and installs the hypervisor locally. Depending on the specifications of the server and the chosen installation method, this method can take 10 to 30 minutes or longer to complete. Once finished, the server will reboot itself and load the hypervisor for the first time (Figure H)(Figure I)(Figure J).
Figure H

Figure I
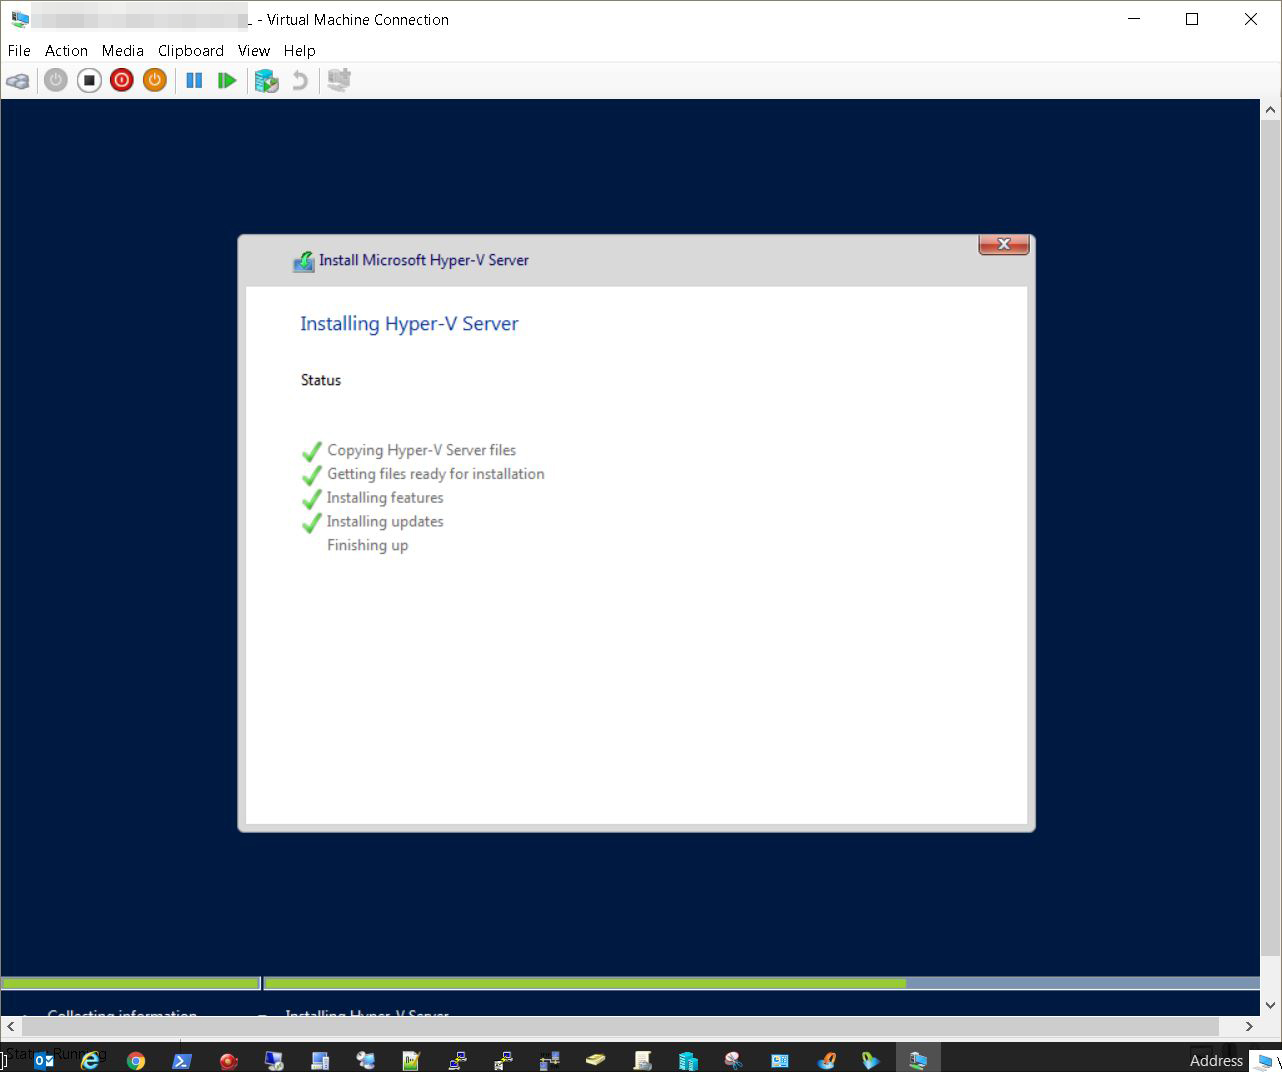
Figure J
Initial configuration of Hyper-V Server settings
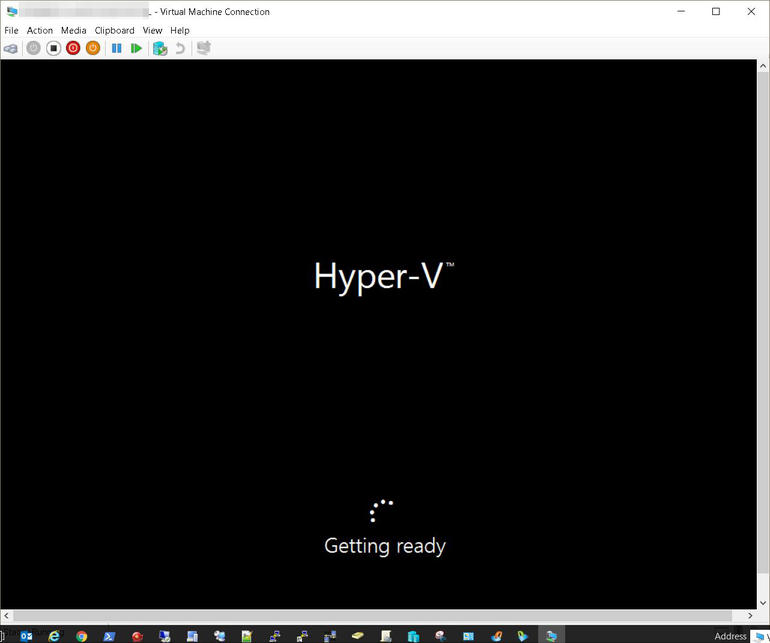
After the initial reboot, Hyper-V Server will get the server ready by scanning the available hardware and load Windows drivers (Figure K).
Figure K
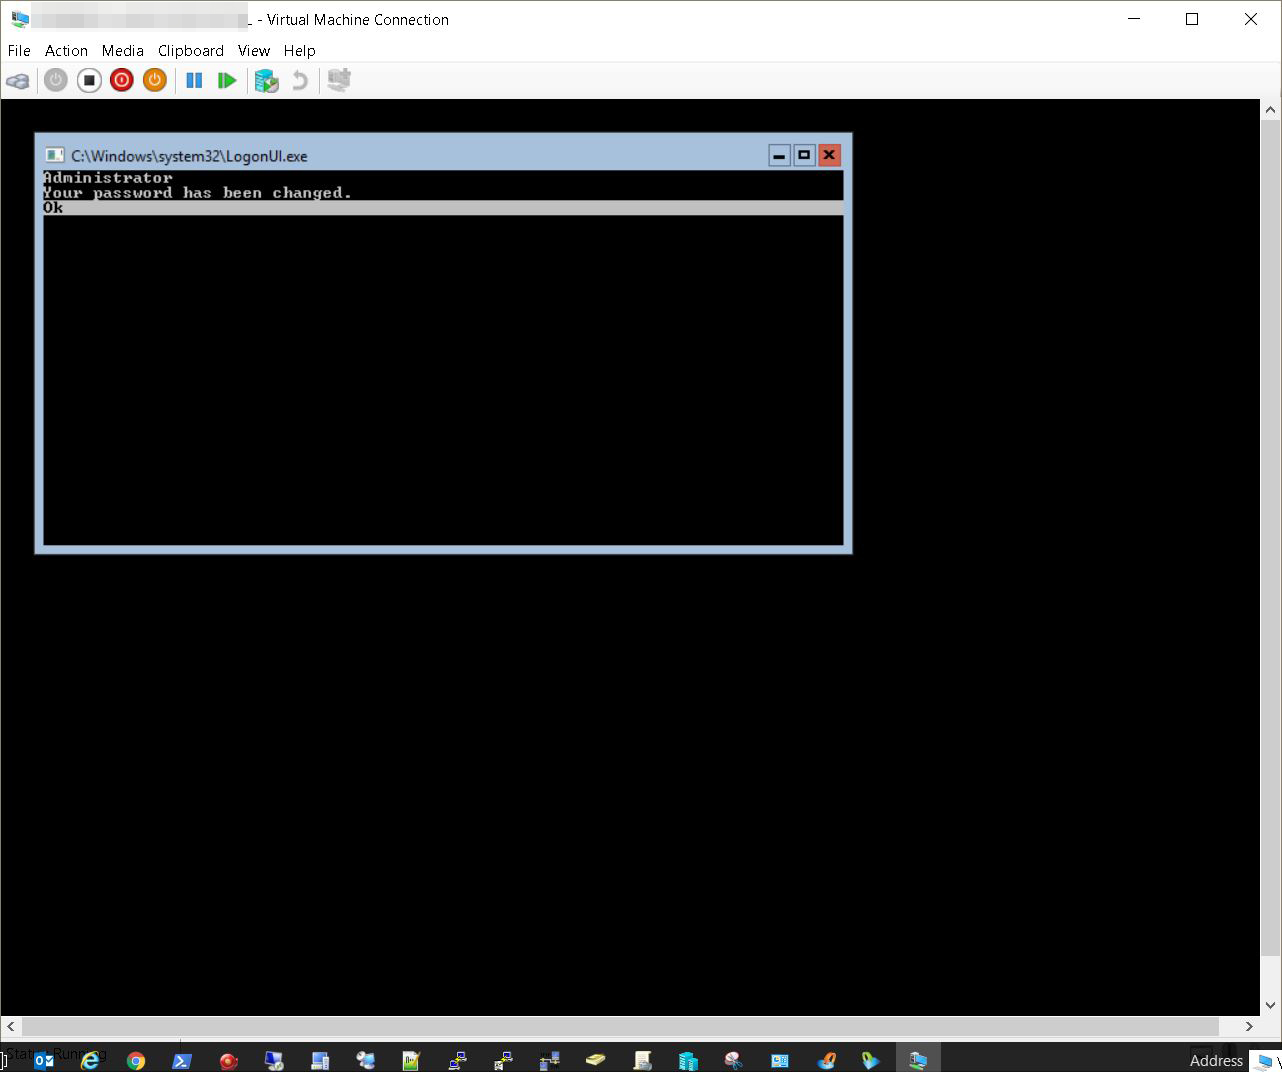
To keep resource utilization at a minimum to ensure that the lion’s share of system resources are available to the hosted VMs, Hyper-V Server runs in a UI-less state, identical to Windows Server Core Mode. This loads only the services and features required by the OS to function out of the box and keeps unnecessary ones from view until an administrator executes a command to load any additional services, roles, and features that are required. With that said, upon first boot you’ll be treated to a command-line interface (CLI) that prompts the user to change the default administrator password by default. Enter your new password and confirmation, then proceed to the configuration prompt (Figure L)(Figure M)(Figure N).
Figure L
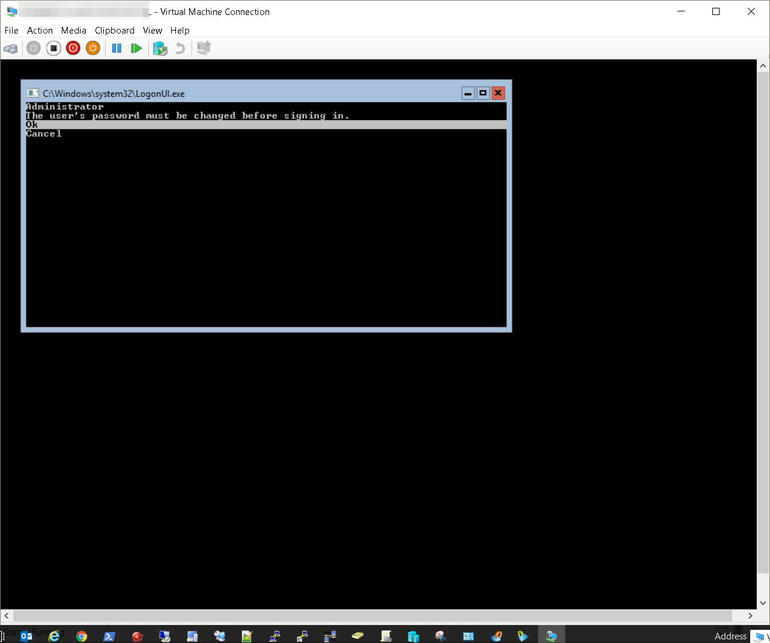
Figure M

Figure N
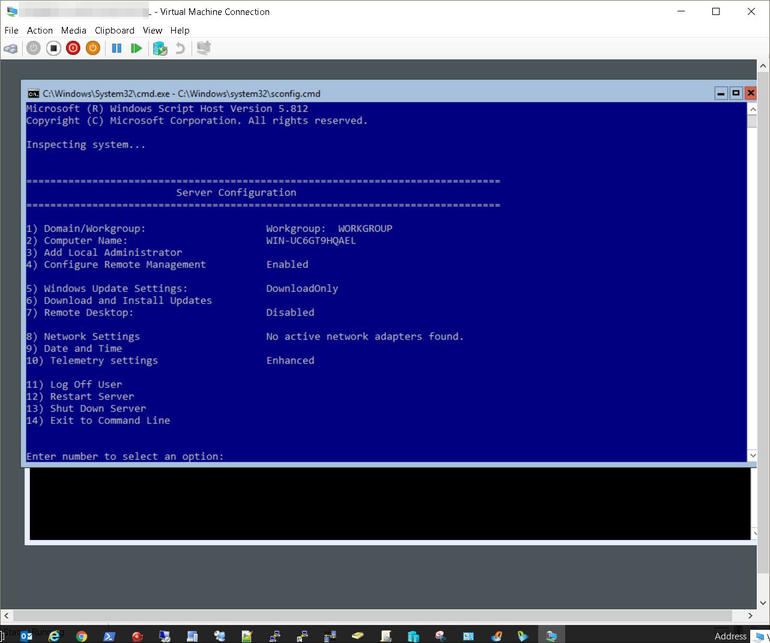
Next, you will find two screens loaded: Server Configuration and a CLI behind it. The Server Configuration screen allows the administrator to make changes to the most common and necessary settings to ensure the server runs properly. Since it is scripted via the CLI, it is rudimentary yet easy to understand and follow. You make changes by entering the corresponding number next to the setting you wish to modify. You’ll be prompted to enter the change to be made. Depending on the change, a reboot may be triggered, which you must either accept to reboot the server immediately or decline to make the change but postpone the reboot until later (Figure O).
Figure O
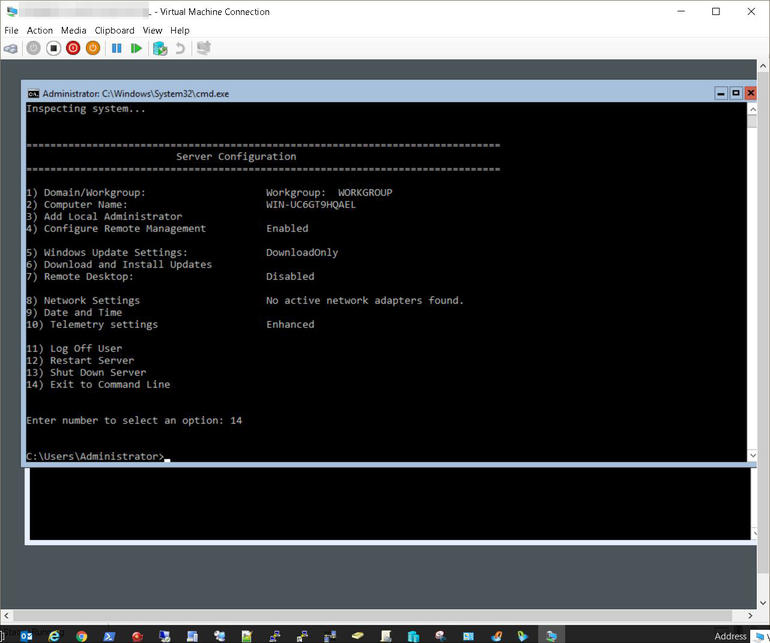
In the example below, choosing 14 and pressing Enter will cause the Server Configuration script to exit and load the standard CLI (Figure P).
Figure P
Note: To enter the Server Configuration screen, execute the following command from the CLI at any time:
C:\Windows\System32\Sconfig.cmd
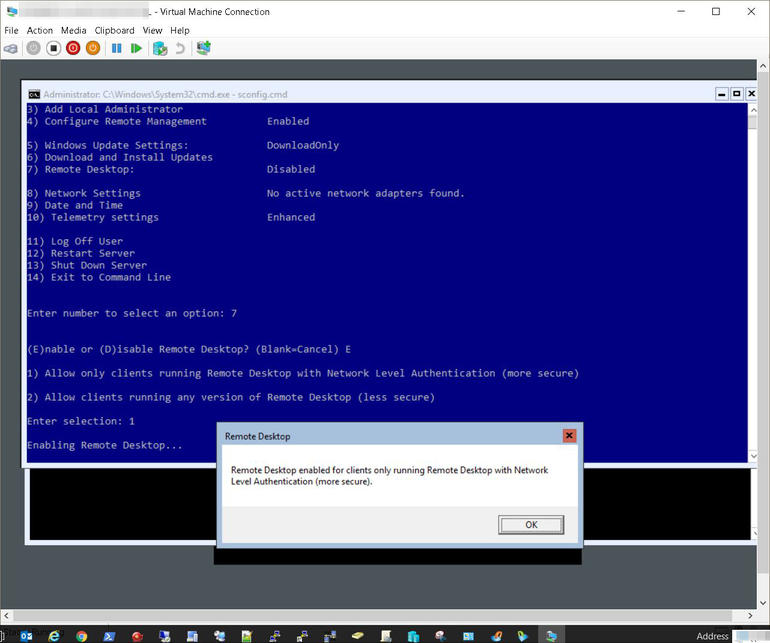
To enable Hyper-V Server remote management—that is, configuring the server to allow itself to communicate with administrative workstations remotely—make sure that selection 4 and 7 are both enabled. Additional changes should be made in accordance with your organizations specific needs (Figure Q).
Figure Q
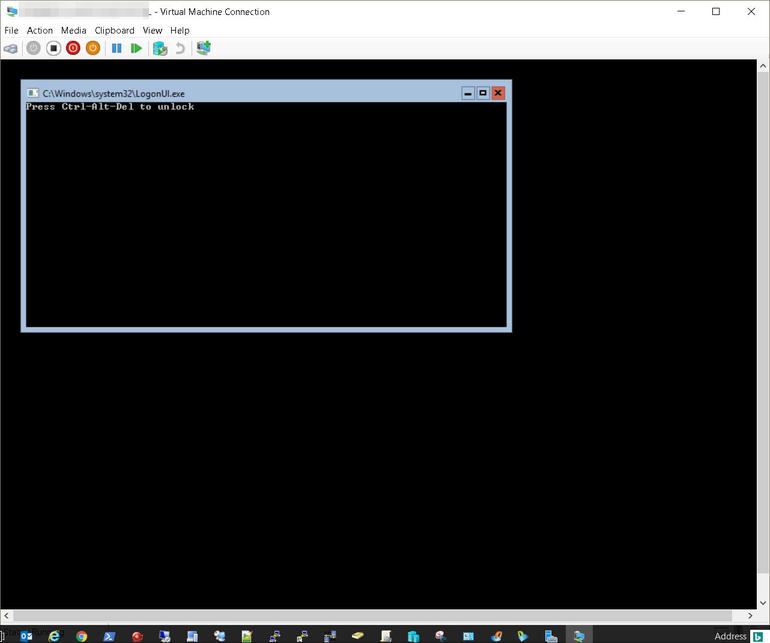
Rebooting the server will load the CLI in keeping with the secure nature of Core mode (Figure R).
Figure R
Hyper-V Server is simply a hypervisor and not an actual VM. It is typically deployed using automation and thus does not require much in the way of direct management as a typical Windows Server would. Because of this, management of Hyper-V Server is relegated to scripting, PowerShell, and/or manual changes made via the Server Configuration. However, VMs running on Hyper-V Server can be managed remotely using the Server Manager app found in Windows 8 or later and Windows Server 2012 or later. More on this in a future article.
