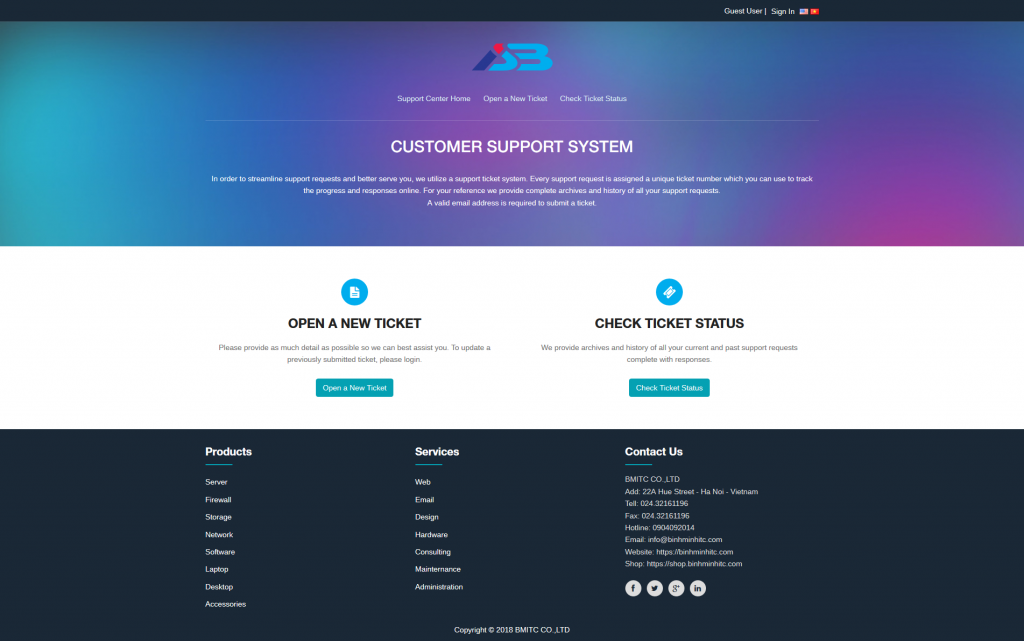
Tôi cần một hệ thống ticket đơn giản có hỗ trợ nhận/gửi email, và osTicket có vẻ là giải pháp phù hợp. Tôi gặp vài lỗi và khá vất vả để xử lý, nên viết nhanh bài này cho những ai muốn làm điều tương tự.
Đây là bản cài CentOS 7 mới, và tìm nhanh trên Google tôi có được một hướng dẫn tốt để làm theo.
root@techshare.vn [~]# yum update
root@techshare.vn [~]# yum install wget
root@techshare.vn [~]# yum install httpd -y
root@techshare.vn [~]# chkconfig --levels 235 httpd on
root@techshare.vn [~]# systemctl start httpd.service
Sau đó tôi kiểm tra IP bằng lệnh
root@techshare.vn [~]# ip addr
Kiểm tra xem có vào được trang mặc định của Apache không, và tôi không vào được. Tôi đoán nguyên nhân là tường lửa hoặc SELinux (hoặc cả hai); với bản cài này tôi chưa quan tâm đến bảo mật (ít nhất là lúc này), nên tắt cả hai.
root@techshare.vn [~]# cd /etc/sysconfig/
root@techshare.vn [~]# vi selinux
Đổi SELINUX=enabled thành SELINUX=disabled. Lưu tệp
root@techshare.vn [~]# systemctl disable firewalld
root@techshare.vn [~]# systemctl stop firewalld
root@techshare.vn [~]# systemctl status firewalld
Sau đó khởi động lại máy.
root@techshare.vn [~]# reboot now
Tiếp theo là cài các thành phần cần thiết khác.
root@techshare.vn [~]# yum install php php-{cli,common,gd,mysql,imap,mbstring,xml}
Gặp lỗi ở đây: php-imap, php-mbstring và php-xml không cài được. Cách khắc phục là thêm repo EPEL.
root@techshare.vn [~]# yum install epel-release
root@techshare.vn [~]# yum install php php-{imap, mbstring, xml}
root@techshare.vn [~]# systemctl restart httpd.service
Kiểm tra bản cài PHP bằng cách tạo tệp info.php trong thư mục gốc của Apache /var/www/html/
root@techshare.vn [~]# echo -e "<!--?php\n\tphpinfo();\n? -->" > /var/www/html/info.php
Tôi phải chỉnh sửa một chút mới chạy đúng, vài chỗ bị sai. Bạn có thể kiểm tra tệp trông như sau:
phpinfo
<?php phpinfo(); ?>
Kiểm tra hoạt động bằng cách mở http://techshare.vn/info.php.
Tiếp theo là cài MySQL, giờ thực chất là MariaDB (mới trên CentOS 7)
root@techshare.vn [~]# yum install mariadb-server mariadb
root@techshare.vn [~]# chkconfig --levels 235 mysqld on
root@techshare.vn [~]# systemctl start mariadb.service
root@techshare.vn [~]# systemctl enable mariadb.service
Cần chạy bước cài đặt bảo mật cho MySQL (MariaDB)
root@techshare.vn [~]# mysql_secure_installation
Set root password? [Y/n] Y
Remove anonymous users? [Y/n] Y
Disallow root login remotely? [Y/n] Y
Remove test database and access to it? [Y/n] Y
Reload privilege tables now? [Y/n] Y
Tạo thư mục, tải osTicket và giải nén. Tôi cũng gặp lỗi ở đây: mỗi lần tải tệp từ website đều không tải đủ, và hệ thống luôn nhận tệp là tệp http thay vì tệp zip, nên lệnh unzip không chạy được. Cuối cùng tôi tải về USB, mount USB rồi lấy tệp từ đó. Hy vọng bạn sẽ không gặp lỗi như tôi.
root@techshare.vn [~]# mkdir -p /opt/osticket
root@techshare.vn [~]# wget http://osticket.com/sites/default/files/download/osTicket-v1.9.2.zip -P /tmp
root@techshare.vn [~]# unzip -d /opt/osticket /tmp/osTicket-v1.9.2.zip
Tạo symbolic link
root@techshare.vn [~]# ln -s /opt/osticket/upload /var/www/html/support
Tiếp theo là tạo cơ sở dữ liệu osTicket
root@techshare.vn [~]# mysql -u root -p
mysql> create database support;
mysql> grant all on support.* to support@localhost identified by 'support';
mysql> quit
Các bước cuối trên dòng lệnh
root@techshare.vn [~]# cd /var/www/html/support
root@techshare.vn [~]# cp include/ost-sampleconfig.php include/ost-config.php
root@techshare.vn [~]# chown apache: -R /var/www/html/support /opt/osticket
Sau đó chỉ cần chạy trình cài đặt trên web để hoàn tất.
https://support.binhminhitc.com